Conservatory Roof Insulation Milton Keynes


See How We Do It Step-By-Step

Watch the full conservatory roof insulation process installation video
Hi, I’m Callum from Usable 365, and in this video I’m going to show you exactly how we install one of our insulated ceiling systems from start to finish.
What’s Covered in This Video:
Preparation and setup of your existing conservatory
Fitting our high-performance insulation system
Installing the lightweight internal frame
Adding our premium UPVC finish
Final touches - including FREE LED downlights
Before & After pictures
See our full process in detail below
Floor Protection
As always, the first thing we do is fully protect the floor. We make sure everything is covered properly before any work starts. Keeping the customer’s home clean and protected is just as important as the installation itself.
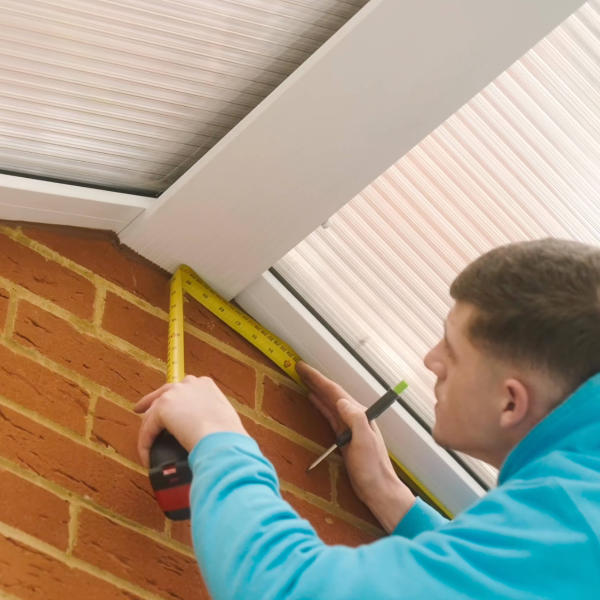
Measuring – First & Second Fix Battens and Hollow Soffit Boards
Next, we take accurate measurements for our first and second fix timber battens, along with the uPVC hollow soffit boards. Everything is measured precisely and transferred outside so we can cut all materials in one go, helping the install run smoothly and efficiently.
Vapour Holes
We then form our vapour holes in the polycarbonate support trims. This allows the insulation to breathe and helps prevent any moisture build-up over time.

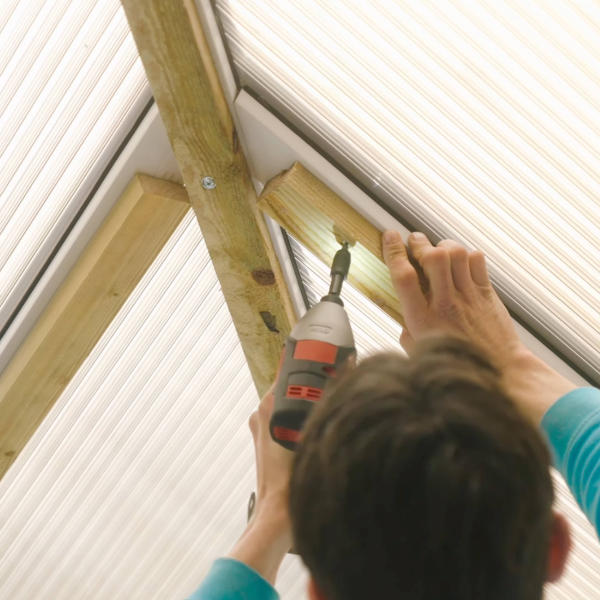
First Fix Battens
With preparation complete, the first fix battens go up. These create the foundation for the entire system and give us a solid structure to work from.
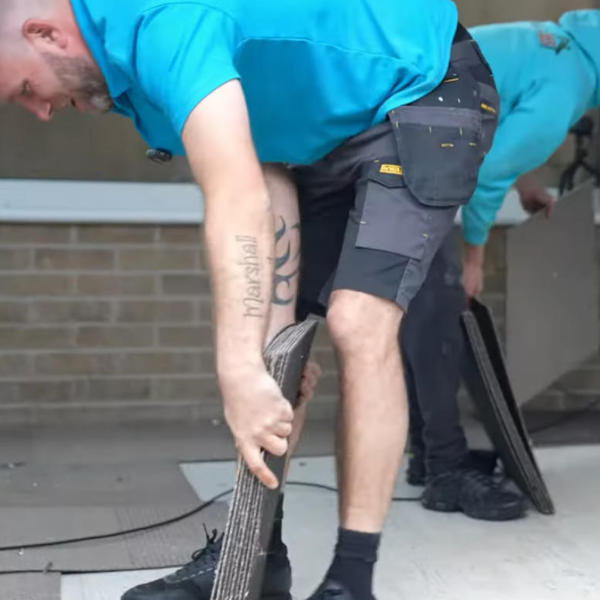
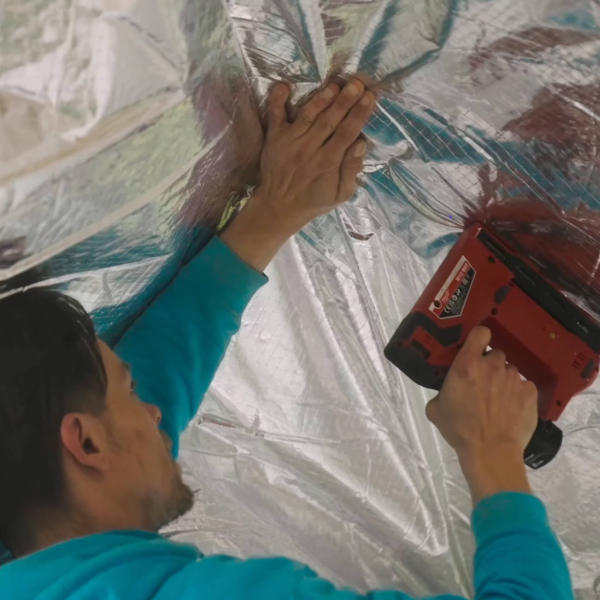
SuperQuilt Installation
Now it’s time for the 19-layer SuperQuilt insulation. This is the part that does the real work - reducing heat loss in winter, keeping excess heat out in summer, and even cutting down rain noise. The quilt is fitted neatly into place, secured using stainless steel staples, and all joints are fully sealed with aluminium foil tape to create a continuous insulated layer.
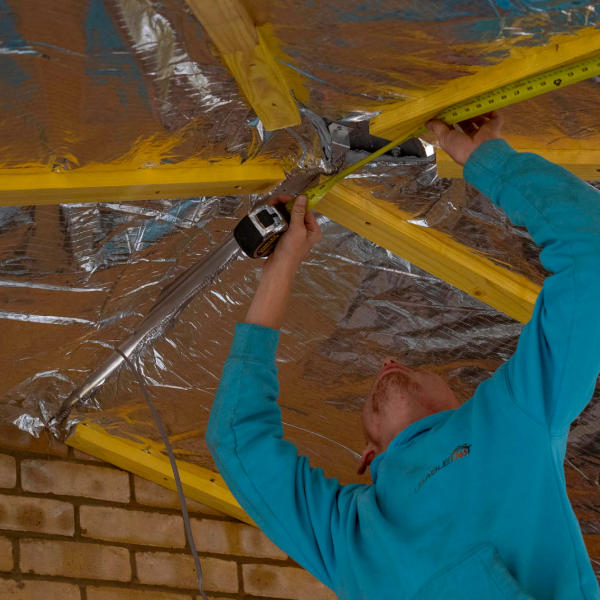
Second Fix Battens
Once the insulation is in, we install the second fix battens. These provide the anchor points for the final ceiling finish and ensure everything is level and secure.
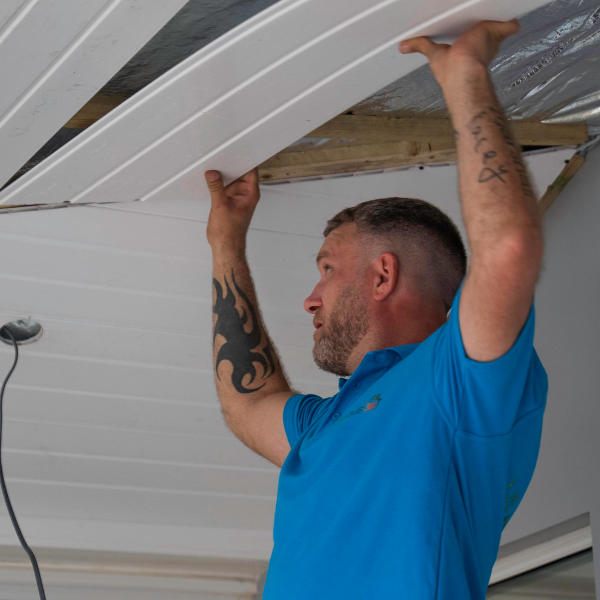
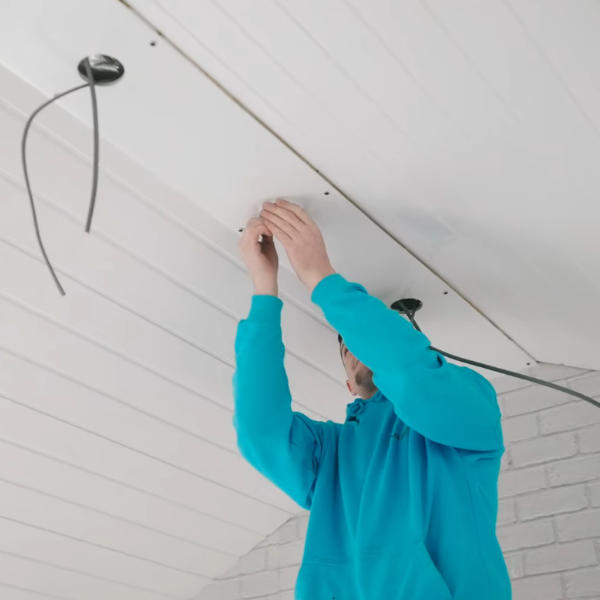
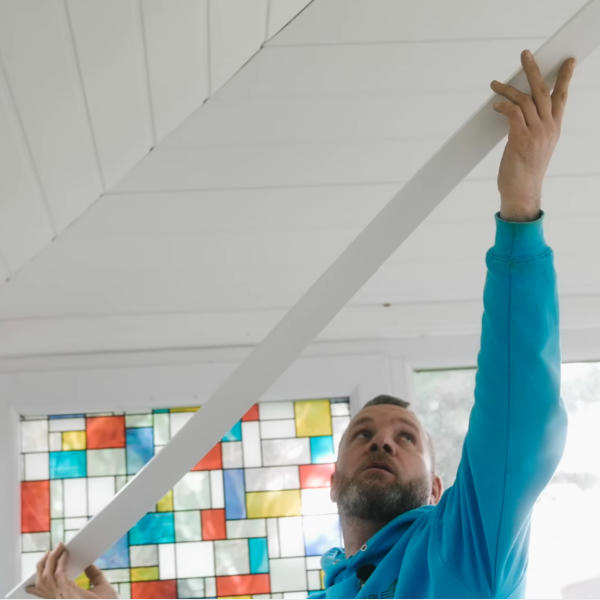
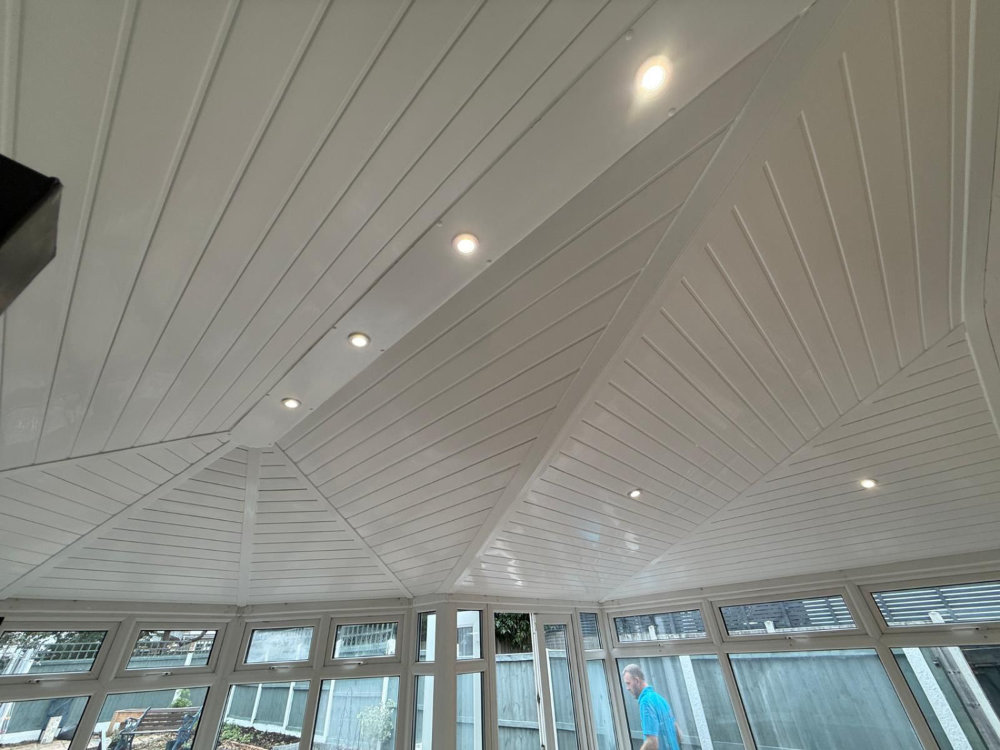
Cladding Going Up
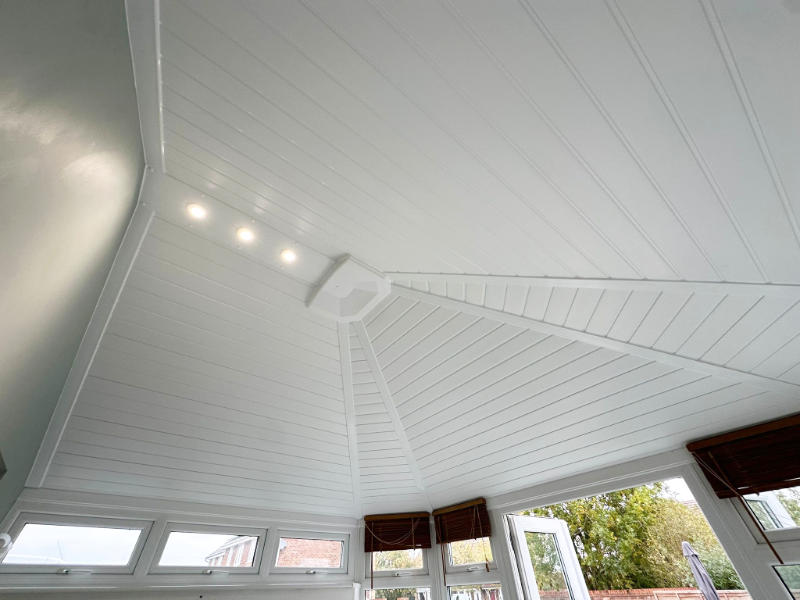
Now we begin installing the uPVC hollow soffit boards. These are fitted into the channel and secured neatly into place. The high-gloss finish helps reflect light around the room, keeping it bright and fresh.
Flatboard Installation
Any flatboard sections are then installed where required, cut precisely to fit around corners and edges to maintain a clean, seamless finish.

LED Lights
Next, we drill out and install the LED downlights. The wiring is run neatly, the lights are connected and clipped into position, and everything is tested to ensure it’s working perfectly.
Trims Installation
With the ceiling complete, we measure and install the 65mm trims around the perimeter. These hide all shadow lines and joints, giving the ceiling a clean, finished edge.
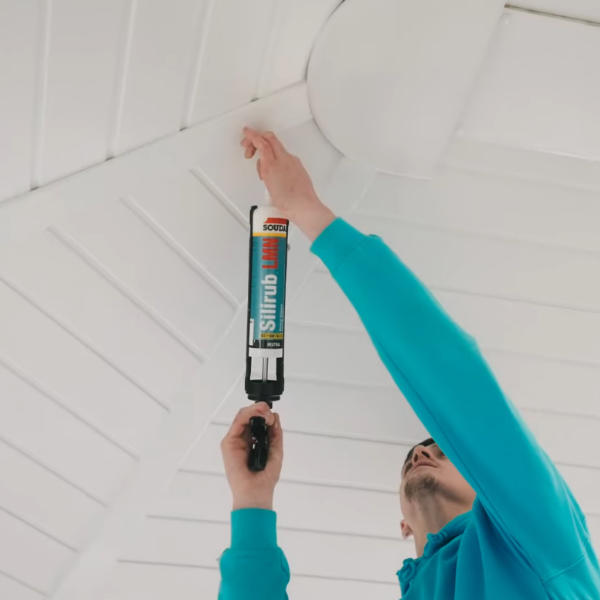
Sealing & Finishing
The trims are sealed neatly with mastic to create a sharp, professional finish. We then clean down the entire ceiling using specialist uPVC cleaner and carry out a full tidy-up. We always leave the space spotless.
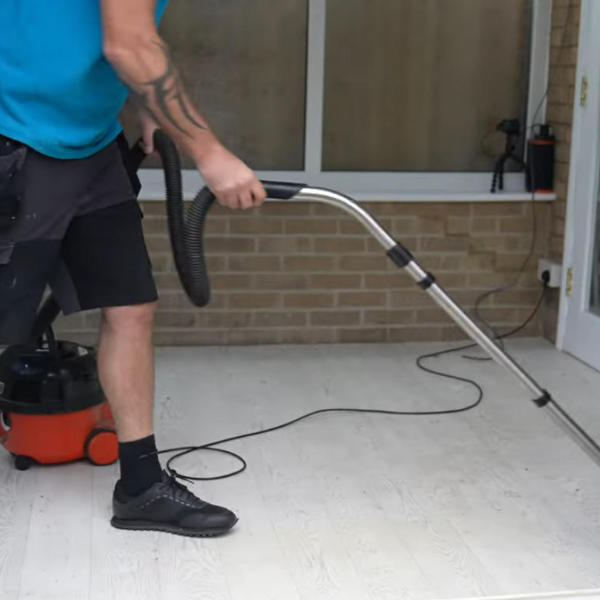
Tidy Up & Clean
After the job is complete we always tidy up any mess, including vacuuming dust or debris. We pull up the floor protection leaving your new space ready read to transform into a room you can use all year round.
Ready To Get A Quote In 60 Seconds?
That’s right, you’re only 1 minute away from getting a price. Simply watch the video to get your measurements then complete the online form.

NO HARDSELL - NO FAKE DISCOUNTS - NO TIME WASTED
Watch our how to measure video to get your price
Stilll need to know more?
Learn more about what we do, what we have done & how we do it
Customer Gallery
See a collection of complete customer photos for every conservatory type.
Case Studies
Read, see and watch how we transformed our customers conservatories.
Video FAQ's
Watch a growing number of video FAQ's to commmon questions about our work.
Before & Afters
Installation photos to help you visualise what it could be like for your conservatory.
Time Lapse Vidoes
Read, see and watch how we transformed our customers conservatories.
Our Guarantee
Read, see and watch how we transformed our customers conservatories.
.jpg)
.jpg)
.jpg)
.jpg)
.jpg)
.jpg)
.jpg)